DIY Kits
Tips for All:
Prepare (sand, paint, etc.) all pieces before adhering.
Glue is needed to complete the design. Depending on the crafter’s age/experience - adhesives range from white glue, glue gun, craft glue, glue dots, wood glue (Titebond is very forgiving if you need to move it), super glue gels (use VERY sparingly). Blot to remove any excess glue, before adhering design pieces to the backing.
Designs containing script letters tend to be delicate in between the ‘loops’ and will snap if pressure is applied.
Use a ruler to align text, before adhering.
Painting:
Lighten or darken colors with black, white, etc. to create the desired shade.
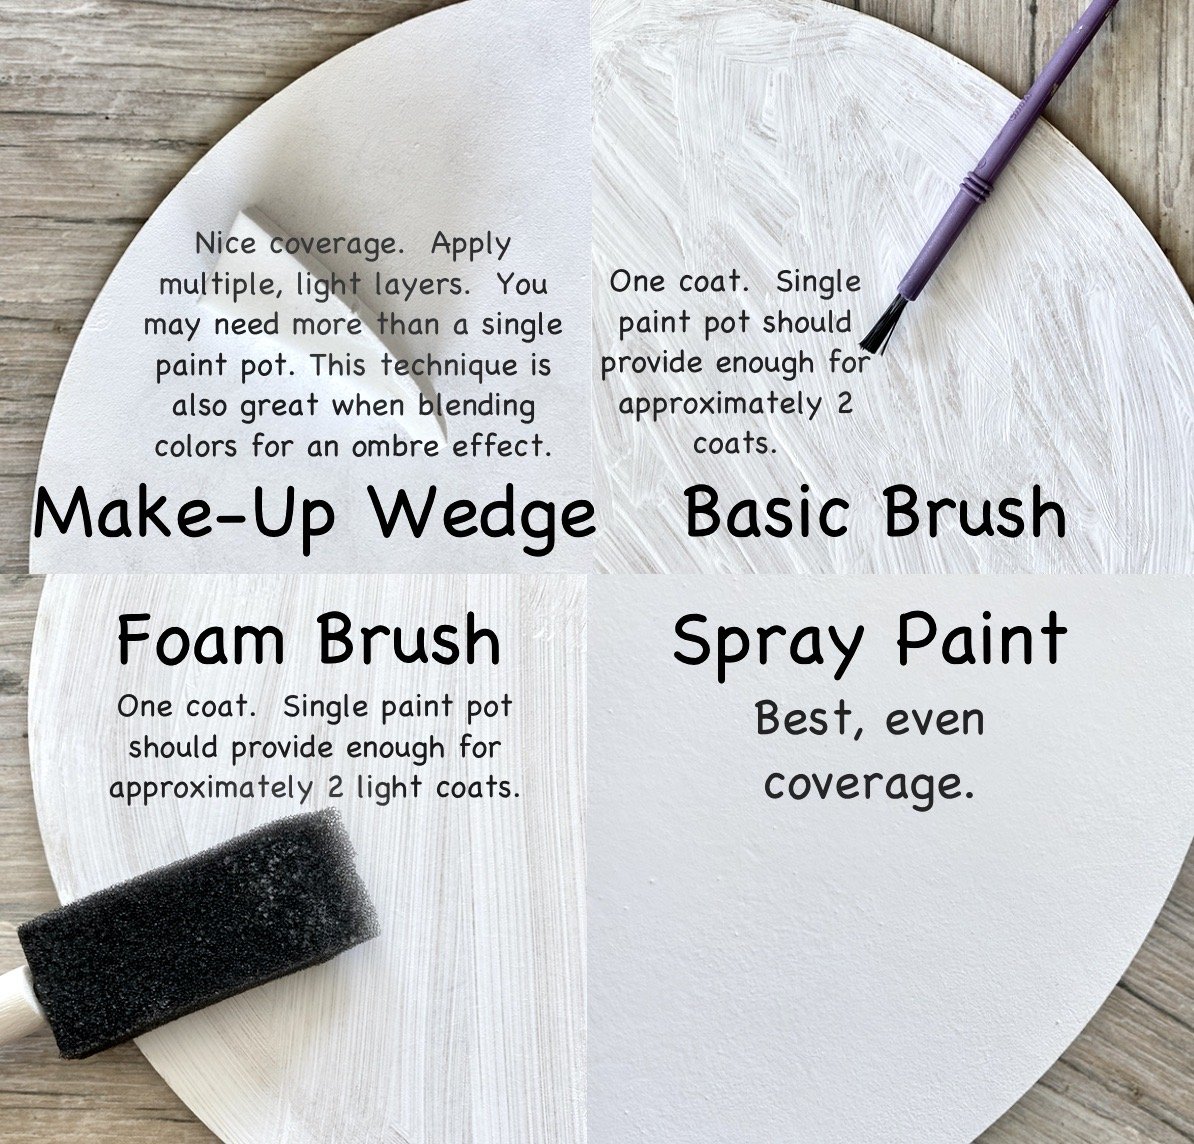
You may use a basic paint brush on your design pieces, however, our favorite technique for painting smaller pieces is using disposable make-up wedges (dip in paint and blot-off excess paint). Apply multiple, light layers. This approach is also great for blending colors/ombre effect. The ombre technique is awesome to use to cover up any errors and make them look intended.
You may notice some brownish ‘soot’ on the raw materials (especially on the back of designs). This is from the laser cutting process and is completely normal. If you want to remove it, a baby wipe, magic eraser, rubbing alcohol, or light sanding works well.
Hang hardware is not included. Weight appropriate Command Strips or sawtooth hangers often work great.
Additional PRO TIPS (Adult DIY Wood Style Kits):
Sand (light grit/220) and primer design pieces, if desired. Move the design pieces over the sanding paper, as opposed to moving the sanding block over the design pieces. This allows you to firmly hold the piece and minimize damage to the design.
Some orders will include a template of the design text. Use the template to align text, then add glue to the individual pieces (be sure to blot excess glue so the letters don’t end up glued to the template) and apply in place. Remove and discard template when you’re done.
Painting:
Lighten or darken colors with black, white, etc. to create the desired shade.
Backing pieces: Apply stain or paint, as desired; completing the sides, before the front/back. The best painting medium for quality coverage is typically painting with a mini foam roller brush - using interior paint, chalk paint or spray paint (spray is a bit tricky as you need to do several light coats, directly above your piece). Quality acrylic paints can also be used.
Individual pieces: A popular technique for painting smaller pieces (or creating an ombre effect/blending colors) is using disposable make-up wedges (dip in paint and blot-off most of the excess paint). Apply multiple, light layers. If using a paint brushes, a selection of good quality brushes is recommended.